

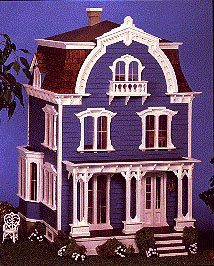
The Greenleaf Willowcrest was a graduation present from my parents in 1997. (How many people get a house for graduating, huh?). I started building it, got about a year into it, then started on the second house I got from a neighbor. Disaster. I've given up on it and am now returning to finishing the Willowcrest. And refinishing. I've learned a lot in the past few years, there are changes I want to make. And you'll get to see them right here!
The Condition of the Willowcrest
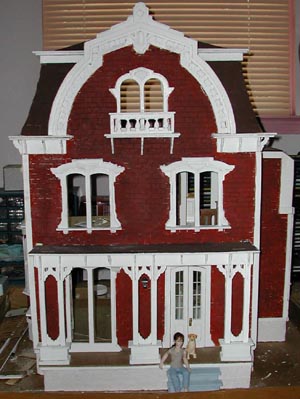
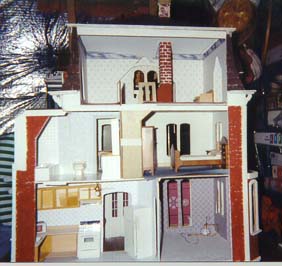
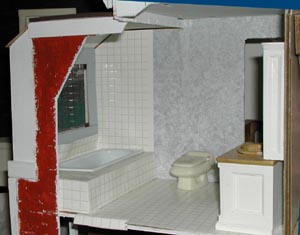
Previously, I had extended the kitchen bay and bathroom out by several inches. They needed the extra space! Inside, you can see the unfinished kitchen counters and the chimney in the top floor.
First Floor: The Kitchen and Living Room
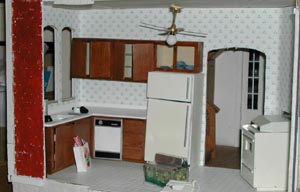
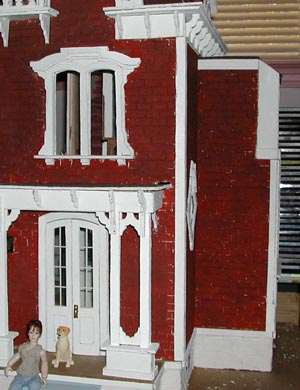
For the kitchen I extended the bay window to accommodate the Realife Modern Kitchen Kit. The picture on the right shows the new exention from the front of the house.
I had to kitbash the kit to make it fit in the kitchen - talk about customization! I am still trying to figure out where everything should go. It's an odd shape.
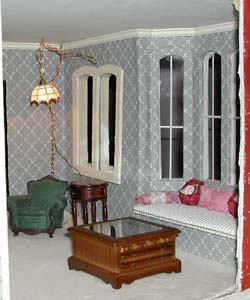
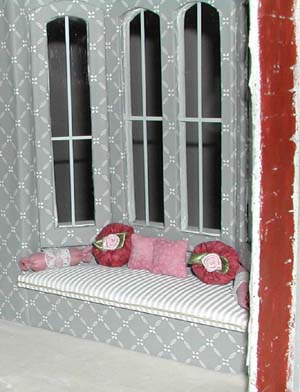
Update: 07/28/02. I was getting a little bogged down so I decided to focus on completing only one tiny section of the house - the bay window in the living room. I turned it into a large window seat, using balsa wood. This will take the place of having a sofa in the living room. My mother designed and made the pillows. I love the way it turned out - it's the perfect place to curl up with a good book!
Second Floor: Bathroom, Bedroom and Hall
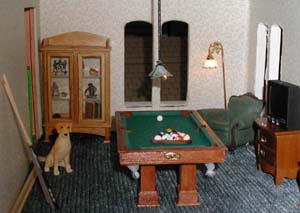
08/22/02: I decided to turn the bedroom into a game room. I am still working on the pool table light, waiting for some supplies to arrive.
Find out how I made the pool table!
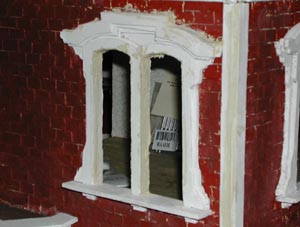
A close up of a window being filled in with wood filler. This stuff is a MUST for Greenleaf houses!
Changes to the third Floor Garrett
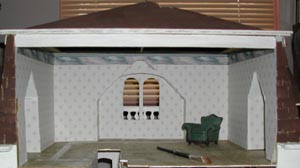
I took out the chimney. It was just taking up too much space. It also had no purpose, as I'm also not including any of the fireplaces!
The wallpaper is going, too. I'm replacing it with cream and green paper I found in a Scrapbook Store. It's nice heavy paper and should cover rough edges and other wiring better than what I had up there before.
Update: 08/01/02
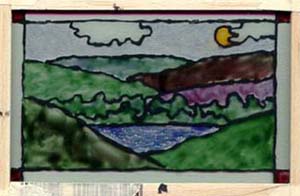
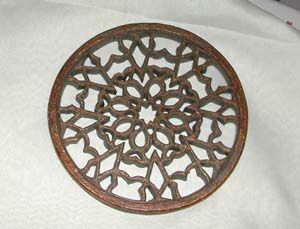
I found a thingy. I'm not quite sure what to call it. It was sitting in a basket at the cash register at Hancock Fabrics, screaming at me. Technically, it's a round mirror with an intricate wood overlay (see the picture). It fit what was in my head perfectly for the skylight I was planning in the third floor. I removed the mirror, but now . . . my problem is . . . how am I supposed to fit it into the ceiling?? I fee like I'm trying to pound a round peg in a square hole. Actually, I think I am. I'm dealing with a circle in a 3D triangle with a rectangular base. Does your head hurt now? mine does.
08/03/02
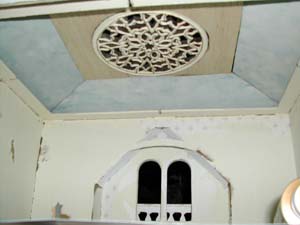 Whew! I made this difficult. After several templates out of posterboard, I finally figured out a design that would work. I've included a picture of what it looks like so far on the inside (still in its template stage). The window had a raised surface only on one side, so i raised the other using glue, jute twine and several coats of paint. Then I went over the twine with gold paint. I'm pretty pleased with the result.
Click Here to see page 2 of the Willowcrest!